Good artwork is the base of every great print. It can be for shirts, logos, signs, or ads. But not all artwork is ready for pro use. Many designs look fine on screen. Yet, they fail in print. This can cause stress and waste time.
Many people start with Vector Artwork Conversion when they want to fix their design. This step helps turn rough images into clean and sharp files. It is one of the best ways to improve quality. If done right, it can make your artwork look pro and ready for any use.
In this guide, I will share easy ways to upgrade your artwork. These tips come from real work and daily practice. You will learn what works and what to avoid.
Why You Need Professional Artwork
Clean artwork gives better results. It helps in print, stitch, and web use.
Key Benefits
- Sharp and clear look
- Better color output
- Easy to resize
- Works on all platforms
Bad artwork can ruin your final product. Good artwork makes it stand out.
Common Problems in Artwork
Before we fix things, we must know the problems.
Low Resolution
Low-quality images look blurry.
Signs
- Pixel edges
- Faded look
- Poor print
Too Much Detail
Small details may not show well.
Issues
- Hard to print
- Looks messy
- Not clean
Wrong File Format
Using the wrong format can cause errors.
Example
- JPG loses quality
- PNG may not scale well
Poor Color Choice
Colors may not match in print.
Result
- Dull look
- Wrong shades
Step-by-Step Ways to Upgrade Your Artwork
Let’s go step by step.
Step 1: Start with a High-Quality Image
Always begin with the best file you have.
Tips
- Use high-res images
- Avoid blurry files
- Keep original file safe
Step 2: Convert to Clean Format
This is where your design gets better.
Why It Helps
- Makes lines sharp
- Removes blur
- Improves quality
This step is key for pro work.
Step 3: Simplify Your Design
Less is more.
What to Do
- Remove extra details
- Keep shapes clear
- Focus on main idea
Simple designs look better in print.
Step 4: Fix Colors
Color plays a big role.
How to Improve
- Use solid colors
- Avoid too many shades
- Match print colors
Step 5: Adjust Size and Scal
Your artwork must fit the final use.
Tips
- Set correct size
- Avoid stretching
- Keep ratio same
Step 6: Use Proper Tools
Tools help you work better.
Basic Tools
- Image editors
- Simple design apps
Advanced Tools
- Pro design software
- Vector tools
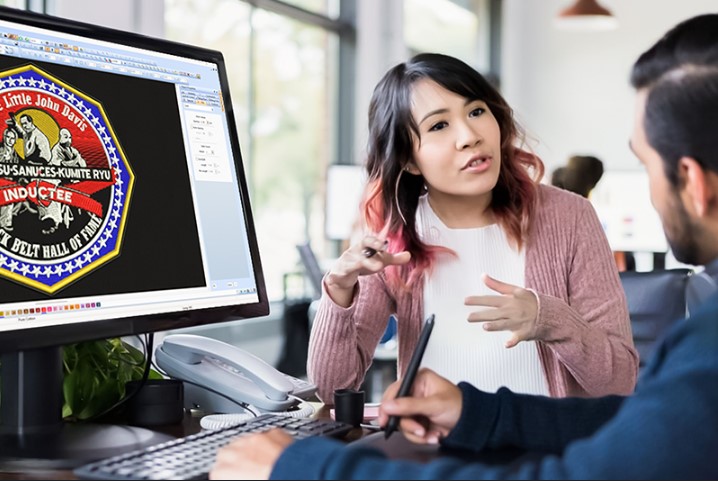
Experts at Absolute Digitizer use advanced tools to get clean and sharp results.
Understanding File Types
File type matters a lot.
Raster Files
These are pixel-based.
Examples
- JPG
- PNG
Use
- Photos
- Detailed art
Vector Files
These are path-based.
Examples
- AI
- EPS
Use
- Logos
- Text
Which One to Choose?
- Use raster for detail
- Use vector for clean lines
Real Experience: What Works Best
From my work, I learned many lessons.
Always Check Before Use
Do not trust the screen look.
Test on Final Output
Print or stitch a sample.
Fix Issues Early
Small fixes save time later
One time, a client sent a small logo. It looked fine on screen. But when printed, it was blurry. We fixed it by converting it into a clean format. The result was sharp and clear.
Tips for Different Uses
Different uses need different prep.
For Printing
- Use high resolution
- Check colors
- Use correct format
For Embroidery
- Keep design simple
- Use bold lines
- Avoid small text
For Web
- Use light files
- Keep size small
- Maintain quality
Common Mistakes to Avoid
Avoid these to save time.
Stretching Images
This ruins quality.
Ignoring File Type
Wrong type gives bad result.
Using Too Many Colors
This makes design messy.
Skipping Test
Always test first.
How Professionals Upgrade Artwork
Experts follow a clear method.
Their Process
- Check file quality
- Clean the design
- Fix colors
- Adjust size
- Test output
Brands like Absolute Digitizer follow these steps to ensure high quality.
Building Trust with Clients
If you work with clients, quality matters.
How to Build Trust
- Deliver clean files
- Meet deadlines
- Offer support
Clients trust those who give good results.
When to Get Help from Experts
Sometimes, you need help.
You Should Get Help If
- File is low quality
- Design is complex
- You need fast work
Experts can save time and effort.
Final Thoughts
Upgrading your artwork is not hard. You just need the right steps.
Start with a good image. Clean it. Fix colors. Use the right format. Always test your work.
With practice, you will get better. Your designs will look sharp and pro.
If you want the best results without stress, you can trust experts like Absolute Digitizer. They bring skill and care to every design.
Keep learning. Keep improving. And your artwork will always stand out.